Unlocking India: A Step-by-Step Guide to the Indian Visa Application Process
Embarking on a journey to India requires careful planning, especially when it comes to the Indian Visa Application Process. Whether you’re traveling for tourism, business, or medical reasons, understanding the procedures can make your experience smoother and stress-free. This guide provides a detailed overview of the steps involved in the Indian Visa Application Process, focusing on Indian visa requirements, how to apply for Indian visa, eVisa India, Indian embassy visa, and more to ensure you’re fully prepared for your trip.
Understanding the Indian Visa System
India offers a variety of visas tailored to different purposes of travel. The most common visa types include:
- Tourist Visa
- Business Visa
- Medical Visa
- Conference Visa
- Student Visa
- Employment Visa
These visas can be acquired either through an Indian Embassy/Consulate or via the electronic visa (eVisa) system, which simplifies the Indian Visa Application Process for citizens of eligible countries.
Types of Indian Visas
- Tourist Visa
This visa is ideal for those who want to explore the diverse culture, heritage, and beauty of India. Typically valid for 30 days to 10 years (depending on nationality), with single or multiple entries allowed. - Business Visa
For professionals attending meetings, conferences, or setting up ventures in India. It generally comes with a validity of up to 1 year or more with multiple entry privileges. - Medical Visa
Issued to patients seeking treatment in reputed Indian hospitals. Medical attendants can also apply for a special visa linked to the primary applicant. - eVisa (Electronic Visa)
India offers eVisas under Tourist, Business, and Medical categories. It’s valid for short-term visits and is available to citizens of over 160 countries.
Step-by-Step Indian Visa Application Process
Step 1: Determine Your Visa Type
Start by identifying the appropriate visa type based on your travel objective. Visit the official portal or your local Indian Embassy website to learn about visa categories and eligibility.
Step 2: Gather Required Documents
The documentation varies depending on the visa category, but generally includes:
- Valid passport with at least six months’ validity and two blank pages
- Recent passport-size photo (per Indian visa photo requirements)
- Completed online visa application form
- Proof of travel itinerary
- Supporting documents (invitation letter for business, hospital letter for medical, etc.)
Always check specific document requirements for your nationality and visa type.
Step 3: Complete the Online Application Form
Log onto the Indian Visa Online portal and fill out the application form. Enter accurate details matching your passport, including: Indian Visa Online Apply
- Personal information
- Passport details
- Travel plans
- Visa type and duration
Save the Application ID for future reference.
Step 4: Upload Documents and Photo
You will be prompted to upload a digital photograph and a scanned copy of your passport’s information page. Follow the technical specifications carefully, as incorrect uploads can result in delays.
Step 5: Pay the Visa Fee
The visa fee depends on your nationality and the type/duration of visa. Payment methods include credit/debit card or bank transfer, based on the application channel used (eVisa portal or Embassy submission).
After payment, you will receive a confirmation email with the Application ID and reference number. Keep this safe.
Step 6: Schedule an Appointment (If Required)
For regular visa applications submitted through an embassy, you may need to schedule a biometric appointment. This typically includes fingerprinting and an in-person interview. eVisa applicants are not required to attend an appointment.
Step 7: Submit the Application (If Applying via Embassy)
If applying offline, submit the completed application form along with documents at the nearest Indian Visa Application Center (IVAC) or Indian Mission. Make sure to keep the receipt for tracking purposes.
Step 8: Track Your Application
Use the Application ID on the visa portal to monitor the status of your application. Processing times vary:
- eVisa: 3–5 business days
- Regular Visa: 5–10 business days, depending on embassy workload
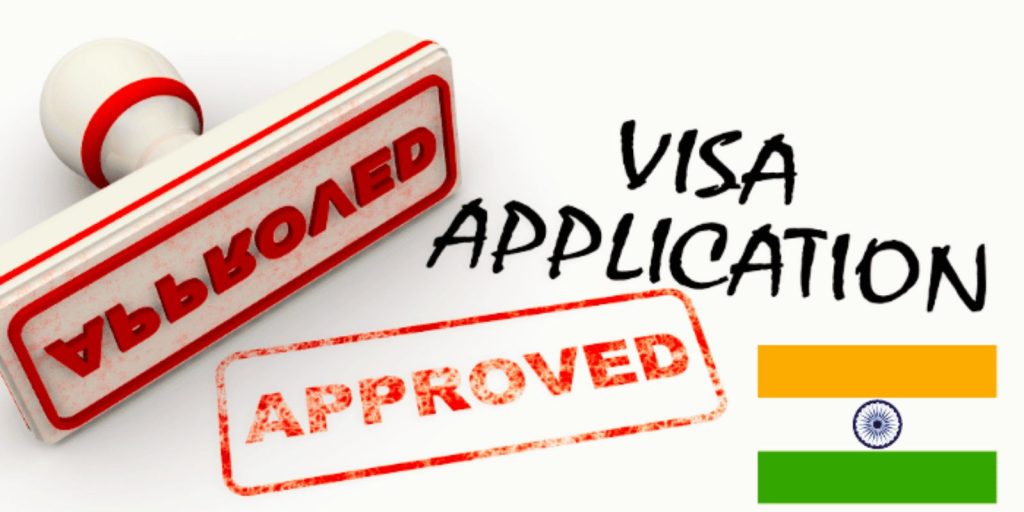
Step 9: Receive Your Visa
- eVisa: You will receive an Electronic Travel Authorization (ETA) via email. Print it and carry it with you. The actual visa is stamped on arrival in India.
- Regular Visa: The visa will be stamped in your passport. Collect your passport from the embassy or visa center, or receive it by courier if opted.
Key Tips for a Successful Indian Visa Application
- Double-check all information before submitting the application.
- Ensure your passport photo meets specifications.
- Book travel tickets after visa approval to avoid cancellations.
- Apply well in advance of your intended travel date.
- Use official websites only to avoid scams.
Common Reasons for Visa Rejection
Even though the Indian Visa Application Process is relatively straightforward, mistakes can lead to rejection. Common issues include:
- Incomplete application forms
- Invalid or damaged passport
- Mismatch in personal details
- Inadequate supporting documents
- Suspicion of false information
To avoid rejection, take time to review your application thoroughly before submission.
FAQs About Indian Visa Application Process
- Can I extend my Indian visa once in India?
Most eVisas cannot be extended. For regular visas, extensions may be granted under special circumstances. Visit the FRRO (Foreigners Regional Registration Office) for details. - What’s the difference between eVisa and embassy visa?
eVisas are processed online without embassy visits and are ideal for short-term visits. Embassy visas are traditional stamped visas, suited for long-term stays. - Is travel insurance mandatory for an Indian visa?
While not mandatory for all visa types, travel insurance is highly recommended, especially for medical or long-term stays. - Can minors apply for Indian visas?
Yes, children must have individual visas. Parents or guardians must complete the application on their behalf and submit additional documentation, such as birth certificates.
Final Thoughts
Navigating the Indian Visa Application Process is a crucial part of planning your trip to India. With a bit of preparation and attention to detail, securing your visa can be a smooth experience. Whether you’re marveling at the Taj Mahal, attending a business conference, or receiving world-class medical treatment, having the right visa in hand ensures a worry-free and enriching journey through one of the world’s most vibrant destinations.